> ## Documentation Index
> Fetch the complete documentation index at: https://docs.envoi.no/llms.txt
> Use this file to discover all available pages before exploring further.
# Account and company
> Create an Envoi account and set up your company.
You create the account and the company in the same wizard. It takes a few minutes, and everything you choose here can be changed later under **Settings**.
The company must be registered in the Brønnøysund Register Centre (Brønnøysundregistrene). If you are starting a new business, register it first at [brreg.no](https://www.brreg.no) and come back afterwards.
## How to do it
Look up the company by organisation number or name. Envoi fetches the name and address from the Brønnøysund Register Centre.
If the company is already on Envoi, you can choose **Send request**. The account owner is then notified and can approve you, and you wait on a separate page until that happens.
Enter your first name, last name, email and a password of at least 10 characters. You can also choose **Continue with Google**.
You become the owner of the company account, and can invite others later.
Envoi sends a 6-digit code to your email. Enter it to activate the account. If you did not get a code, you can choose **Resend code**.
This is what you need to send an invoice:
* **Business name on invoice**, if it should be different from the legal name.
* **VAT-registered**. If you are, «MVA» is added automatically after the organisation number on your invoices.
* **Account number** (11 digits). Can be added later.
* **Payment terms**: 7, 14, 30 or 45 days.
Numbering starts at 0001 for each document type. Once the first invoice has been sent, you cannot skip or change numbers.
Answer who you invoice, roughly how many invoices you send a month and which industry you are in. The industry is used to suggest a VAT code. This is also where you choose a subscription.
This step is optional, and you can skip it.
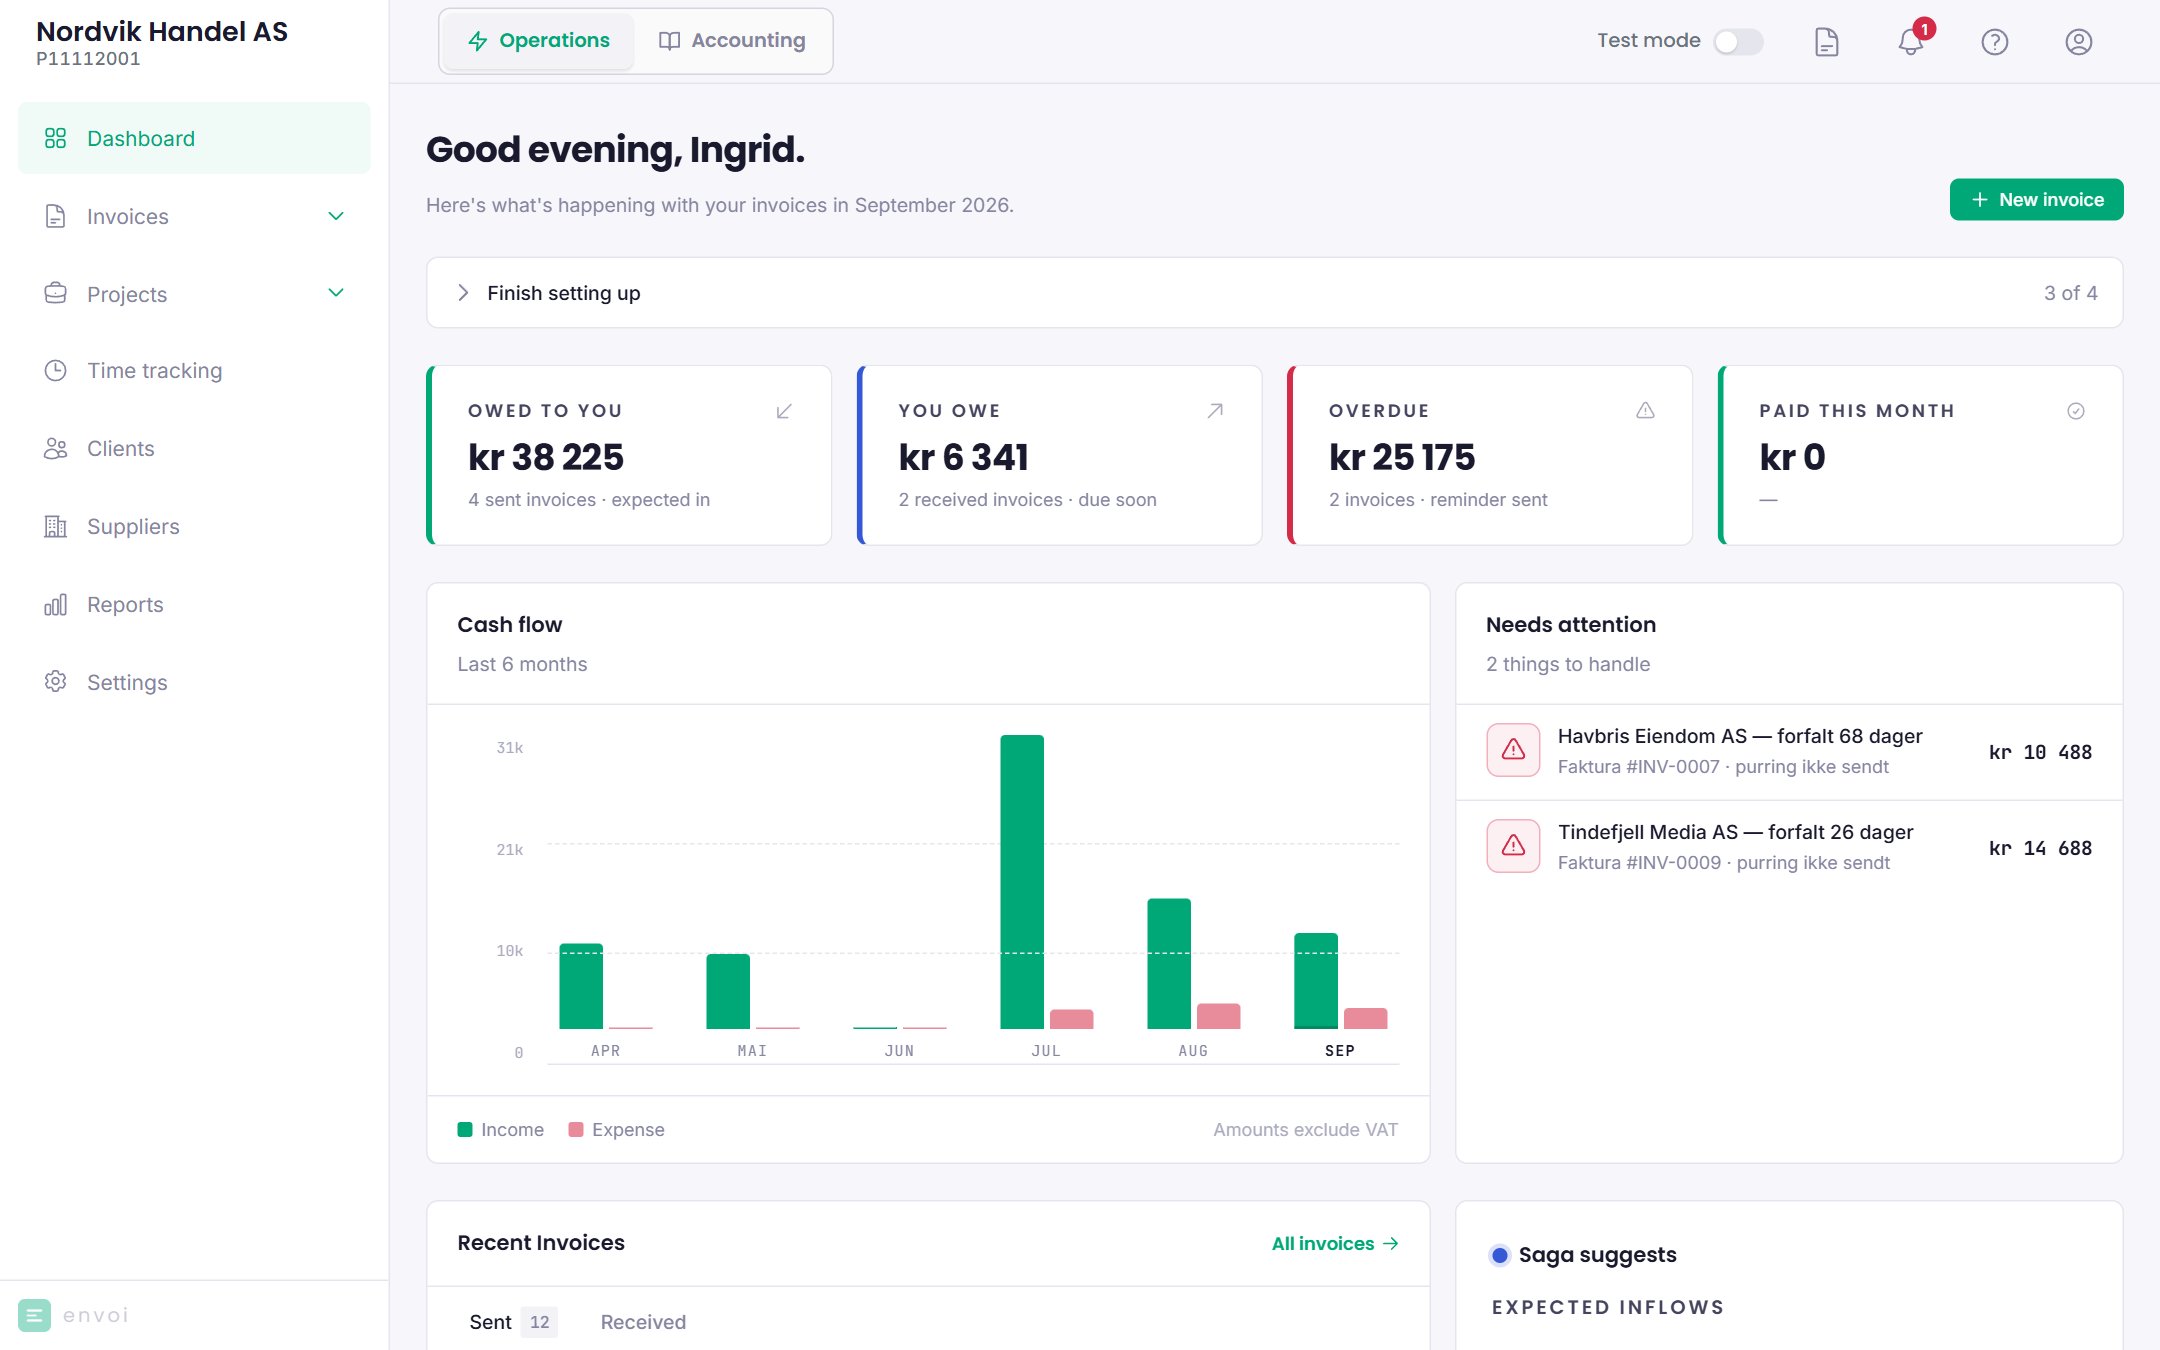
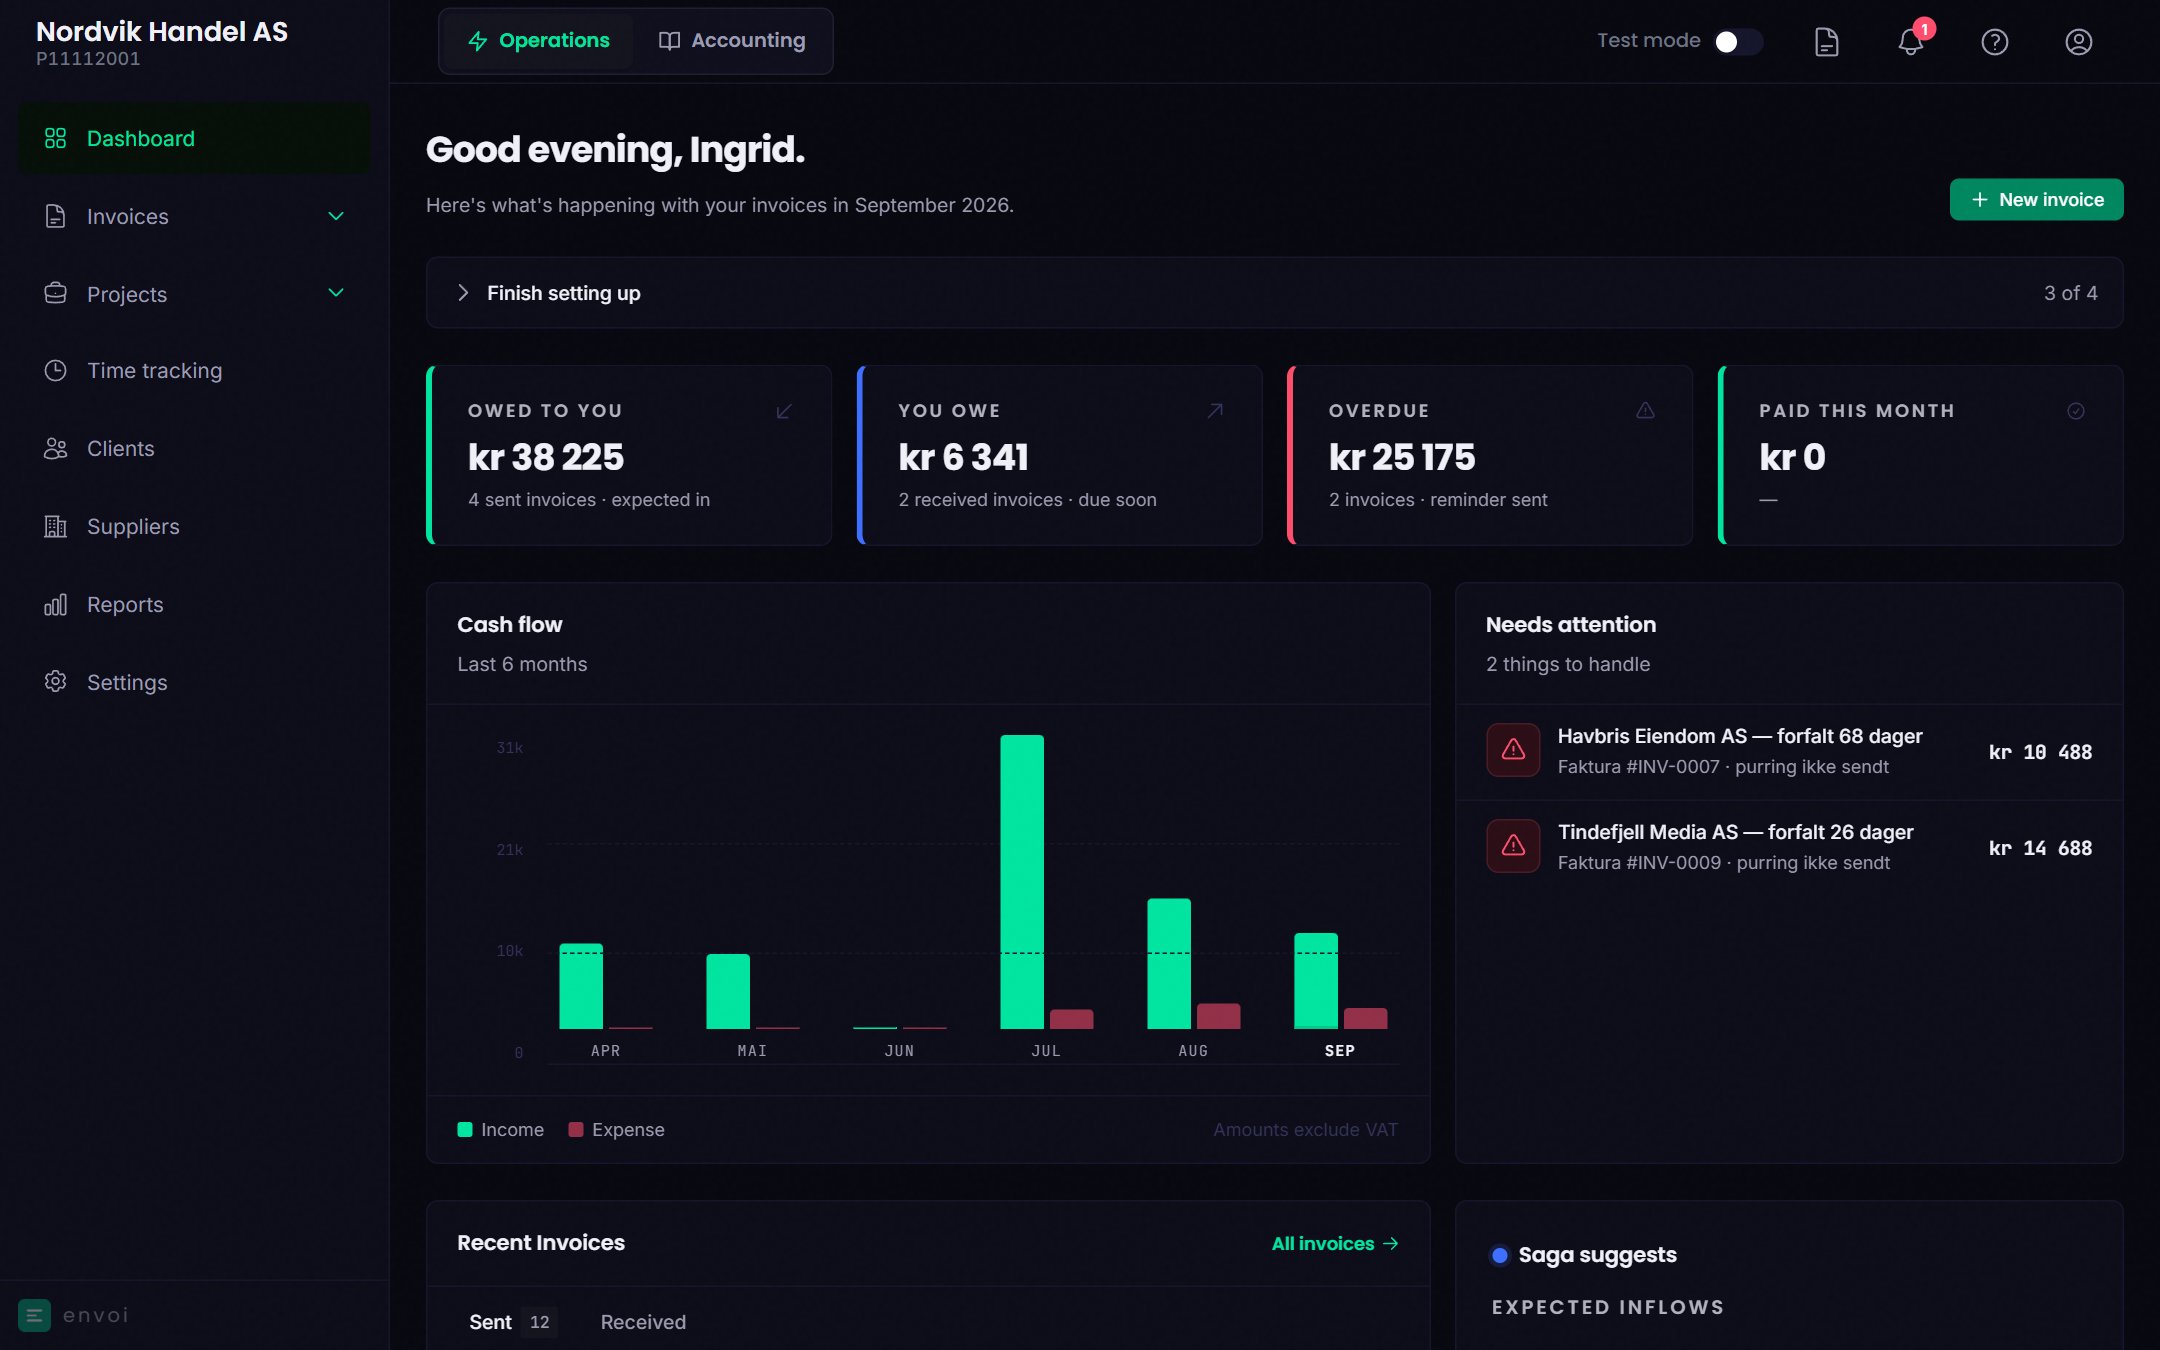
Review the summary, accept the terms and create the account. You land on the dashboard.
## After the account is created
At the top of the dashboard is **Finish setting up**, with what remains, such as logo and contact details.
 Create and send an invoice.
Let Envoi keep your books.
Create and send an invoice.
Let Envoi keep your books.